Sunday, March 20, 2011

Animal Print (Leopard) Look animal (Leopardo)

Well now it is time for us... I leave you with a post about animal print.
I wear animal print from time to time. But I have to say "Ladies we want people to know that we have a wild side to ourselves not that we are a wild animal that just escaped from the zoo"
So please just make sure you don't over do it. A purse, a cardigan, a skirt, jewlery, a scarf, a nice pair of shoes (I love pony hair. I think it looks great) to show that wild side of our is ok. Just dont do it head to toe.
If you want to wear a leopard dress take look at Nicky Hilton. I think she is doing it right. When wearing animal print take a look at how it looks from the back as well. Specially if it is tight. If you are not confy just put a cardigan or jacket on top ot it.

Bueno ahora hablemos un poquito de moda. Aquí les dejo con un post acerca del look animal. Yo lo llevo de vez en cuando. No puedo seguir escribiendo sin decirles "Queridas todas queremos que la gente sepa que tenemos un lado salvaje. Lo que no queremos es que crean que nosotras somos un animal salvaje que acaba de escapar del zoológico. Entonces por favor "No Abusar". Un bolso, una rebeca (cardigan), una falda, complementos, una bufanda, un buen par de zapatos (Adoro los de pelo de poni) pueden también dejar ver nuestro lado salvaje.       

Si quiere llevar un vestido de leopardo fíjate en la foto de Nicky Hilton.  Por supuesto lo ideal es que se vea bien por delante y por detrás : ). Así que a vernos en el espejo antes de salir. No basta con lucir bien por delante, también hay que ver como nos vemos por detrás. Si sientes que es demasiado para ti siempre puedes usar una rebeca (cardigan) o un blazer encima del vestido . Pienso que lo hace bastante bien.


My inspiration picture


Audrey Hepburn


Jackie O, Kate Moss, Aerin Lauder, Mark Kate Olsen and Audrey Hepburn


Jennifer Lopez


Katie Holmes


Leopard Shoes / Zapatos De Leopardo


Sienna Miller


Nicky Hilton

Dakota Fanning

Love the look! Me encanta!


DIY Zebra Hide HTM Alfombra En Forma De Cebra

Here is another DYI Rug project. It is for a Zebra Rug.

here are my inspiration pictures. You have the DIY video as well..


Aqui otro proyecto para que lo hagas tu misma. Es para una alformbra de forma de Cebra.

Aqui estan las fotos que me han inspirado.


The video

El video


DIY - Upholstered Tufted Headboard; Guest HTM Cabecero de cama con botones

Another fun project.

It is an amazing look to go for for a guest room or for your own room. It was sone by Orange Sugar   I love DIY (obviously) and tufted headboards so adding in a how to is even better!  Thanks for teaching us how it is done!


DIY Headboard

I love the look of a tufted headboard, but could never bring myself to part with $400+ to buy one. Then I thought, why not make one? The result was a fabulous looking headboard, if I do say so myself. If you have always wanted a headboard and have a free day, a friend to help out and around $100, you too can make your very own headboard. If I can do it, anyone can. Go for it.


DIY Headboard Detail
Supplies:
1/2" Plywood
Foam (at least 2" thick)
Polyester Batting
Upholstery Fabric
Upholstery Thread
Upholstery Needle
Cover Button Tool and Buttons
Scissors
Spray Adhesive

See below for mounting options and supplies needed

Tools:
Staple Gun and 1/2" Staples
Tape measure
Drill
Hammer

Optional but helpful:
Rubber Mallet
Electric Knife

Step 1: Look for inspiration
Headboards can be made in a variety of shapes and sizes, depending on how ambitious you want to be. Since I had never made one before I stuck to your standard rectangle shape. My inspiration was this Nate Berkus headboard.

Step 2: Take Measurements

Width: Measure the width of your bed. The headboard should be a about 1" or 2" larger in width than your mattress.

Height: This is up to you. If you are planning on leaning against it while in bed make sure it is tall enough. Measure from the top of the mattress to the height you want the headboard to be.


Step 3: Buy Your Supplies:
You can buy plywood in large sheets. Have the hardware store cut it to size. (Most stores will do this for free.) The sheet probably won't lay exactly flat, but it isn't a big deal.

You may know of a better source for foam but I bought mine at JoAnn fabrics for 50% off. I had to buy two pieces because their foam only comes in one width and this accounted for about half the money spent on the project.

When buying your batting and fabric, make sure you have enough to wrap around the front and secure to the back. (I wouldn't recommend a patterned fabric for your first try.) Two layers of batting over your foam is recommended.

Step 4: Put It All Together:
1. Find a clean, well ventilated work area.

2. Determine how many buttons you will use and where you want them to go. (Just a heads up the tufting was by far the most time consuming part.) Mark the board and drill small holes. (Just small enough for the upholstery needle to pass through, this will help keep the buttons lined up.)

3. Lay the plywood down and spray one side with adhesive and adhere the foam. Cut off any excess foam so that it is exactly flush with the plywood. There should be no overlap. (This is where that electric knife comes in handy.)

4. Push your upholstery needle through the holes you just drilled the foam. Make shallow cuts into the foam where your upholstery needle comes through.

5. Spray the foam with adhesive and hold one side of the batting while your friend holds the other side and pull taut. Place on top of foam. Make sure there is no puckering because it will show through the fabric. Repeat for second layer of batting.

6. Flip the plywood, foam and batting over and lay it flat on the ground. Wrap the batting around to the backside and staple in place.

7. Lay fabric on the floor wrong side facing up. Place plywood, batting side down on top of fabric. Wrap fabric around to the back of the headboard, secure the fabric loosely with a few staples.

8. Use the button covering kit to cover your buttons. (See this tutorial onyoutube for help.) This part is a pain. The smaller the button, the more difficult it is to cover them. (A rubber mallet will be helpful. I ruined my button maker with a hammer.)


9. Double thread your upholstery needle with upholstery thread and poke through one of your pre-drilled holes from the back to the front. Don't pull all the way through! Make sure to leave some thread hanging out of the back. Slide the button onto the thread and poke the needle back through the same hole. Push the button on the front of your headboard into the foam while your friend tightly secures the thread on the back with a bunch of staples. You will need a hammer to bang in the staples, so that the thread will stay secure. (There is probably a better way to secure the thread but this is how I did it.)

10. Continue along and tuft each of your holes.

11. When all the tufting is finished, secure the fabric to the back of the plywood with more staples.

12. Step back and admire your work.

Mounting Options:

There are three ways that I know of to mount your headboard; legs, a french cleat or flush mounts.

Legs are the most apartment friendly method because it doesn't involve drilling holes into the walls. Just make sure that the headboard sits a little above your mattress or else it can interfere when you are trying to make the bed. For this option you will need two 1x4's cut to size. The legs should be about 2" above the floor and within 5" of the top of the headboard. Screw the 1x4's to the back of the headboard and then bolt them onto your bed frame.

A French cleat is a little more involved but this is my favorite method. To use this method take a board and rip it at a 45 degree angle. Then you mount one piece to the back of the headboard and the other to the wall. The headboard sits on the upward facing angle making it very sturdy. You will also need to attach another piece of wood to the bottom of the headboard to keep it level. Hopefully this video and image can help clarify things.

The flush mount method can be found at bejane.com.


DIY Zebra Rug (Kids Room) / HTM Alfrombra en forma de cebra (Cuearto de Niños)


DIY - Zebra rug!

Oh my....a bright no-sew zebra rug! Such a simple inexpensive idea for a kids room - this rug was made for a dorm room!

Cut-It-Out Felt Rug
Non-fraying felt makes this project a cinch, and the zebra motif will have your hallmates demanding where you found it. It's so simple you can adjust the technique to make a rug in just about any size or style, including a welcome mat.

You'll need:
Zebra rug template (download here)
2 yards (72" wide) gray felt
2 yards (72" wide) orange felt
4 yards (72" wide) cream felt
6' x 2' piece of 2" grid pattern paper
Carbon paper and tracing wheel
Pencil
Scissors
Fabric Glue

How to do it.


Make the pattern.1. Using the zebra rug template (download here), draw the zebra rug pattern onto the 2" grid pattern paper. Draw a 2" border around the edges and cut out the template around the outer edges.
Cut out the pieces.2. Fold the gray felt in half lengthwise and lay it on the floor. Lay the template on the felt with the template's straight edge even with the fold in the fabric. Following the instructions on the carbon paper, trace the design onto the felt with the tracing wheel.
3. Remove the template and carbon paper. Pin the layers of felt together and cut out the design.
4. Repeat for the orange felt.
Assemble the rug.5. Lay the cream felt out flat on the floor. Unfold the gray felt piece and lay it flat on top of the cream felt. Pin in place.
6. Cut the cream layer to the same size as the outer edge of the gray felt. Glue the layers together with fabric glue and let the glue dry.
7. Place the rug over the cream felt again and cut out another layer. Glue the layers together with fabric glue and let dry.
8. Flip the rug over and place the orange piece in place, matching the raw edges. Pin the layers in place and glue them together.
    My inspiration picture for the Chevron Rug DIY project.

   La foto que me inspiro para el projecto HTM para la alfombra Zig Zag


   Here are some inspirations pictures for you to make your own rug

Estas fotos para que te inspiren a hacer la tuya


DIY Hand Painted Chevron Rug/ HTM Alfombra en Zig Zag

I was looking for ideas for a fun DIY project and I think I found one that can make a big statement.

I hope we can all do the same. I have a couple of rugs at my office that are going to be transformed soon. I will post the pictures once I am done. Looking forward to it.
I am sure you can use the design you like. Just let your mind fly.

The DIY project was done by Carissa

Here is a copy of it. She has a great sense of humor.

She said it was so easy, and so worth the time to reinvent it!  
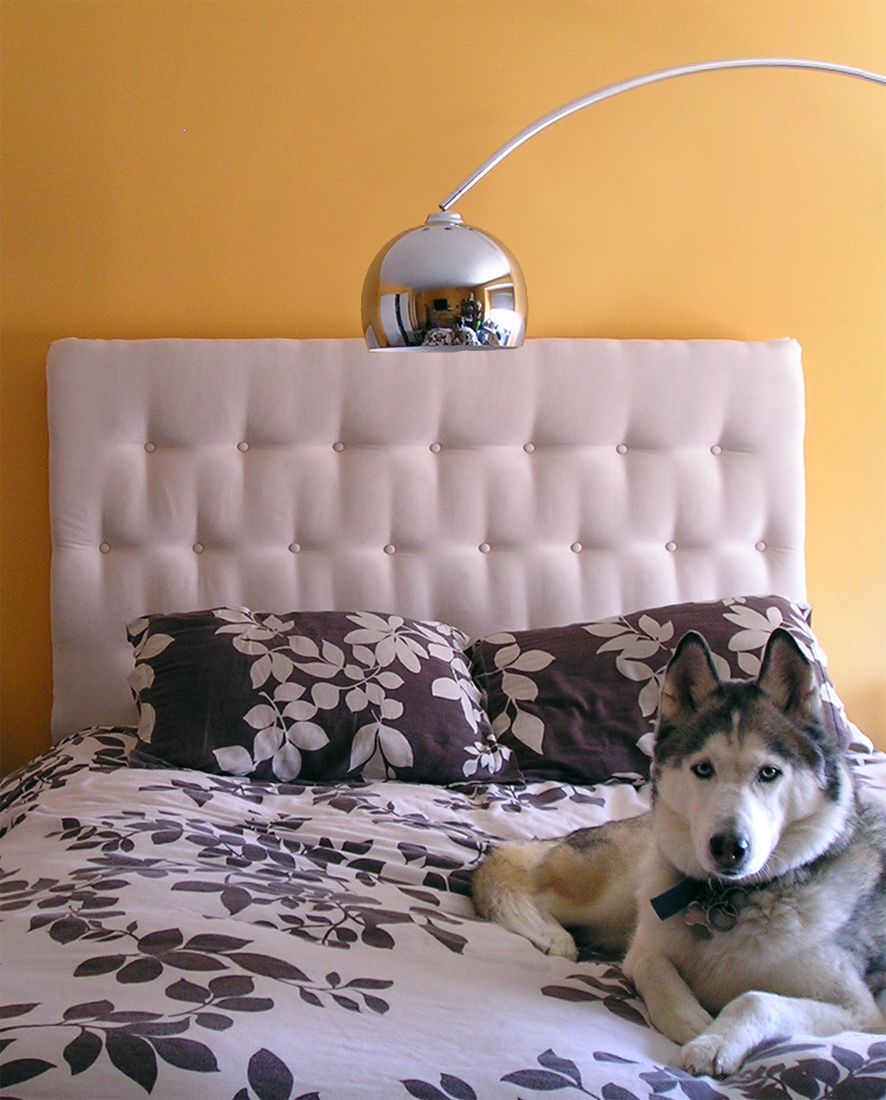
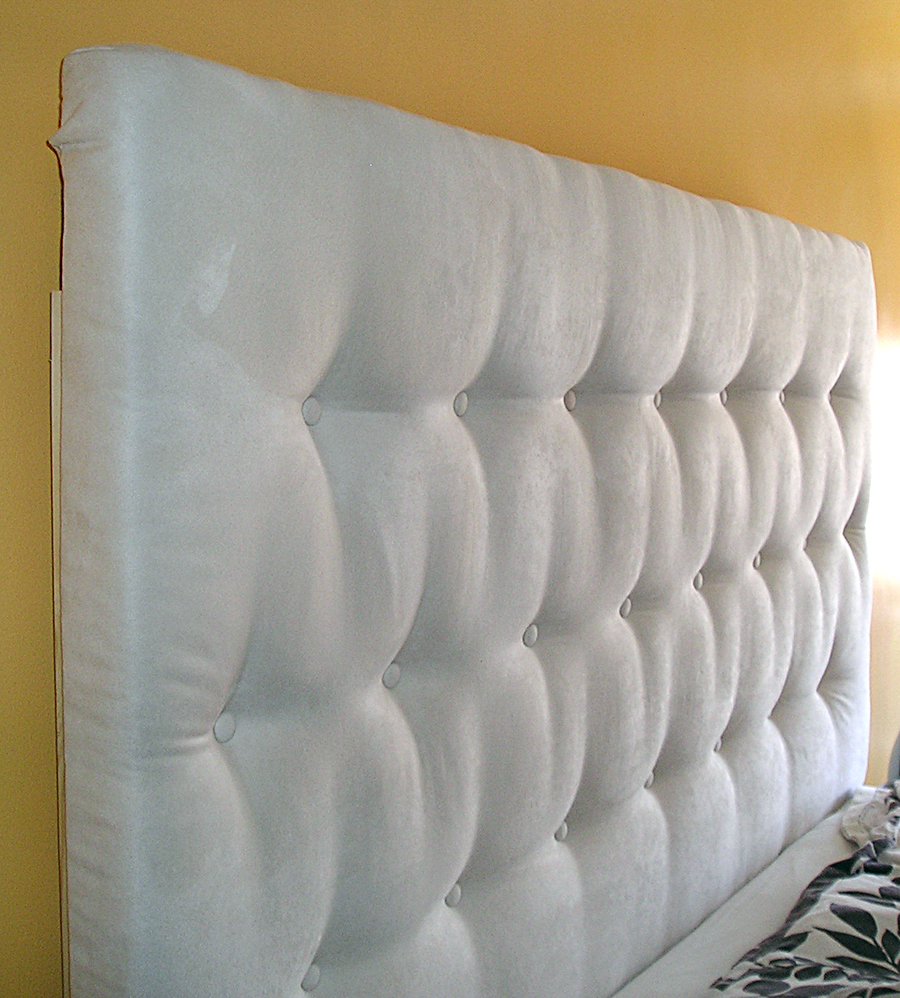
Here are the before and after pictures.


Even though the rug was hideously bland, it did have a couple of things going for it:  it was big (8' x 10') and it had a really flat loop (like a fake sisal rug).  The flat loop made it possible to use paint instead of dye for the stripes.

Here's what I did:

1.  Measure.  I knew that I wanted three zig zags stretching across the rug, so I measured out the spacing of the peaks, and drew three chalk lines across the rug to make sure the peaks were perfectly spaced.

2.  Tape out the first peaks.  To get the first peak, I used my 450 triangle (from my drafting kit - leftover from engineer days! haha!)  If you don't have the triangle, just measure it out.  For tape, I used 2 strips of the 2" green painters tape, and overlapped it just a little bit.

     
3.  Continue taping.  To keep the spacing perfect without measuring every single time, I made myself a little "jig" by overlapping two short pieces of tape.  I used the jig to make sure that the spaces were the same width as the stripes.


4.  Still taping... Taping takes forever, but it's kind of fun seeing the pattern emerge.


5.  Paint.  Finally it is time to paint!  I used Benjamin Moore latex floor paint in black.  It took most of a gallon.  I did one coat, let it dry overnight, and then did the second coat the next day.
*** update for people who have been wondering - I used small roller (about 3'' wide) ***


7.  Remove tape.  Voila, you are done!  I let it dry for a full day before we started walking on it.


Friday, March 18, 2011

Sandra Bullock Donation to Japan / Donación de Sandra Bullock a Japón

I want to give a big "Hip Hip Hurray"to Sandra Bullock for her donation to Japan.

Thu, Mar 17, 2011, 1:00 am PDT
The Oscar winner sent $1 million to the American Red Cross to help with the relief efforts in Japan, which suffered a massive earthquake and tsunami. It is the largest donation to the organization by a celebrity announced so far. The Red Cross called the contribution 'vitally important.'

By Claudine Zap, Yahoo!


Quiero dar un gran enhorabuena a Sandra Bullock por su donación a Japón.
La ganadora del Oscar envió $1 millón a la Cruz  Roja Nnorteamericana para ayudar con las operaciones de auxilio en Japón, que sufrió un terremoto y un tsunami masivos. Es el donativo más grande a la organización hecho por una celebridad anunciado hasta ahora. La Cruz roja llamó la contribución 'de vital importacia'.

I am not affiliated to the Red Cross.If you can make a donation to help Japan, visit  http://www.redcross.org/ or http://www.cruzrojaamericana.org/ or the Red Cross in your country of residency.
You can make a donation on line as well.

No estoy afiliada a la Cruz Roja. Si puedes hacer una donación para ayudar a Japón, visita http://www.redcross.org/ or http://www.cruzrojaamericana.org/ o la la Cruz Roja en tu país de residencia.
Se pueden hacer donaciones directamente desde la pagina web.


Thursday, March 17, 2011

Brass Giraffes / Jirafas de cobre y zinc

   Here is a picture of a couple of brass giraffes that I picked up. I am just waiting for them to arrive home.

Una foto de un par de jirafas que he comprado. Estoy esperando a que lleguen a casa.


I have been looking for them ever since I saw them on top of the book you see here.

Las he estado buscando desde que las vi encima de este libro.


Wednesday, March 16, 2011

H&M 2011 get ready for the sunny days/H&M 2011 preparate para esos dias de sol

I am loving some of the H&M for the 2011 warmer days. The ladies that are waiting for the nice weather are the ones in the north part of the world. I am happy to say I am one of them.
I know that the south part of the globe is going for the cold days. The only thing that I can say is that even during cold days you can wear amazing outfits.

Me gustan algunas de las prendas de H&M para estos días mas cálidos que estamos esperando en este 2011.
Las que estamos esperando esos días cálidos son las que viven en el norte del planeta. Estoy feliz de ser una de ellas.
Se que el sur del planeta espera días mas frescos. Lo único que les puedo decir es que durante esos días tambien se pueden llevar prendas magnificas.


Bachelorette make up ideas Victoria's Secret Make-up Tutorial

I talked about the Kim Kardashian look for curly hair before. Now I want to talk about make up. I think that the make up tutorial to achieve Marisa Miller's look is the one to go for for the Kim Kardashian hair do. Something fresh yet sexy.
I hope the video helps you achieve the look.


Bachelorette hair Sophisticated & Sassy rope braid tutorial

I am liking her braid as well. Something different and chic.

Me gusta también esta trenza. Es diferente y chic.


Bachelorette Hair Ideas The Kardashians Inspired Hair Tutorial

I was asked about hair ideas to wear to a bachelorette party.
I was asked for something new and chic but that will show the true spirit of the girl that is going to wear the hair do.
She has amazing curly hair and a friend recently straighten her hair. She looks very nice with straight hair but when you straighten your hair you will notice that a hair cut is needed.
She has a party to attend to and a statement to make and there is no time for a hair cut now.
So my suggestion to her is go ahead and straighten the her hair but to go for something like the Kim Kardashian.
I think that her hair has tons of potential for something like the picture I am showing here and the change is not going to be dramatic. In fact I think she will have a softer and sexier version of her curls.
Remember that if you are planning on a change for a special occasion you should experiment with the new look to see if you are happy with the results.
So my friend I hope that you go for it.